Content creator transcription: workflow, best practices, and tools
Content creator transcription: workflow, best practices, and tools
Content creator transcription is the process of converting a creator’s audio or video into editable text for subtitles, SEO, and repurposing. It’s used by podcasters, YouTubers, streamers, and short-form creators who want to turn spoken content into written assets quickly. When done right, it becomes a repeatable workflow that saves hours, improves accessibility, and creates new distribution channels. This guide walks through exactly how to do it, with practical steps, recommended settings, and a clear tool checklist you can copy.
What “content creator transcription” means (and who it’s for)
At its core, content creator transcription is not just about getting words on a page. It’s about transforming spoken content into structured, reusable text that can power multiple outputs. That includes subtitles, blog posts, social captions, and searchable archives. The emphasis is on speed, usability, and format flexibility rather than strict verbatim accuracy.
This approach is especially useful for creators who publish regularly and need a system that scales. A solo YouTuber might want fast subtitles and captions, while a podcast team might need speaker-labeled transcripts for editing and repurposing. Agencies and production teams care about consistency across many files, including batch processing and standardized exports.
The key difference
The key difference from traditional transcription is intent. Creator transcription prioritizes workflow efficiency, flexible exports, and downstream use, rather than producing a single polished document.
Why transcription matters for creators
Transcription becomes valuable the moment you stop treating it as a one-off task and start using it as a content engine. Instead of creating something once, you create once and distribute everywhere.
It directly impacts how fast you can publish, how discoverable your content is, and how accessible it becomes to different audiences. Even small improvements in your workflow can compound across dozens of videos or episodes.
Here are the main benefits creators consistently see:
- Faster repurposing into blogs, emails, and social posts
- Built-in subtitles for better watch time and accessibility
- Improved SEO from indexable text content
- Easier editing with searchable transcripts
- Better collaboration across teams or editors
These gains are practical, not theoretical. A single transcript can feed multiple outputs without requiring you to rewatch or relisten to your content repeatedly.
Step-by-step transcription workflow for creators
A reliable transcription workflow follows a clear sequence from recording to final export. The goal is not perfection at every step, but consistency that produces usable outputs quickly.
Step 1: Record with transcription in mind
Good transcription starts before you ever upload a file. Audio quality has a direct impact on accuracy, and small recording choices can reduce editing time later.
Use a consistent microphone setup and minimize background noise. Avoid overlapping speech when possible, especially for interviews or podcasts. If multiple speakers are involved, introduce names clearly at the start to help with later speaker labeling.
Step 2: Upload and choose transcription settings
Once your file is ready, upload it to your transcription tool. Most modern systems support common creator formats like MP3, WAV, MP4, and M4A, so you rarely need to convert files beforehand.
At this stage, you may need to choose between speed and accuracy modes, especially on free tiers that use self-hosted models. Faster modes are useful for quick drafts, while higher-quality modes are better for final outputs like subtitles.
Also ensure language detection is correct. Many tools support automatic detection across 100+ languages, but manual selection can help if your audio includes accents or mixed languages.
Step 3: Generate the transcript
After starting the transcription, the system processes your file asynchronously or in real time, depending on the setup. For longer files, this may take a few minutes.
Accuracy at this stage depends on audio clarity, speaker overlap, and language complexity. Industry benchmarks show strong performance on clear audio, but results can vary in noisy or multilingual conditions. Expect to do a light editing pass rather than relying on a perfect output.
Step 4: Review and edit the transcript
Editing is where transcription becomes usable. Even high-quality outputs benefit from small corrections, especially for names, technical terms, or punctuation.
Focus on readability rather than perfection. Clean up filler words if you’re creating blog content, or keep them if you need verbatim subtitles. Adjust speaker labels if your tool supports diarization, and break long paragraphs into readable sections.
Step 5: Add structure and timestamps
Structured transcripts are far more useful than raw text. Add headings, sections, or timestamps depending on your goal.
For subtitles and clips, word-level or sentence-level timestamps are critical. These allow you to align captions with video precisely. For blogs or articles, timestamps can help create sections or jump links.
Step 6: Export in the right format
Exporting is where your transcript becomes actionable. Different outputs require different formats, and choosing correctly saves time later.
- TXT for simple editing or writing workflows
- SRT for standard subtitles (YouTube, video editors)
- VTT for web-based video players
- DOCX for formatted documents or collaboration
- JSON for advanced editing or timestamp-based workflows
Free plans often include TXT and SRT, while advanced formats like VTT, DOCX, and JSON are typically available on paid tiers.
Step 7: Repurpose into content
Once exported, your transcript becomes the foundation for multiple assets. This is where the real value of transcription shows up.
Turn long-form audio into structured articles, extract quotes for social posts, or generate captions for short clips. The goal is to reuse the same source material without rewatching or rewriting from scratch.
If you want a deeper breakdown for podcast workflows specifically, see /blog/how-podcasters-use-wisprs for a focused guide.
Tools and features creators should look for
Not all transcription tools are built for creator workflows. Some focus on accuracy alone, while others emphasize editing or collaboration. For creators, the best tools balance speed, flexibility, and export options.
A strong tool should support the full lifecycle from upload to repurposing. That means handling different file types, generating timestamps, and allowing easy edits before export.
Here are the most important features to prioritize:
- Support for common audio and video formats (MP3, WAV, MP4, M4A, WEBM)
- Accurate speech recognition on clear audio, with realistic limitations
- Speaker identification for multi-person content (paid tiers)
- Word-level or sentence-level timestamps
- Subtitle export formats like SRT and VTT
These items work together — get the basics right and the rest is easier.
- Editable transcripts with re-export capability
- Language auto-detection and translation options
- Batch processing for handling multiple files
These features matter because they reduce friction. The less time you spend converting files or fixing formatting issues, the more time you spend publishing content.
Examples and templates for repurposing transcripts
Seeing how transcripts turn into real outputs makes the workflow easier to adopt. The examples below show how a single piece of content can produce multiple assets.
Example 1: Podcast episode → blog post
A podcast transcript often starts as a long, unstructured block of text. The goal is to turn it into a readable article.
Start by identifying key sections in the conversation. These become headings in your blog post. Then rewrite spoken language into cleaner sentences while preserving meaning.
For example:
- Before: “So yeah, I think like consistency is probably the most important thing, right?”
- After: “Consistency is one of the most important factors for growth.”
This process typically takes 20–40 minutes instead of hours of manual writing, because the ideas are already captured.
Example 2: YouTube video → subtitles
For video creators, subtitles are one of the fastest wins from transcription. Export your transcript as an SRT file and upload it directly to your video platform.
SRT files include timestamps and text blocks, which align with your video automatically. If your tool supports word-level timestamps, you can fine-tune captions for better timing.
VTT files work similarly but are often used for web players. Both formats improve accessibility and viewer retention.
Example 3: Long video → short clips with captions
Short-form content relies heavily on captions, especially for viewers watching without sound. Transcripts make it easy to extract key moments and turn them into clips.
Use timestamps to identify strong quotes or segments. Then pair those segments with styled captions for platforms like TikTok or Instagram.
Keep captions concise and readable. Break long sentences into short lines, and emphasize key phrases. This improves engagement and makes your clips easier to follow.
Common pitfalls and how to improve accuracy
Transcription works best when you treat it as a system, not a one-click solution. Most issues creators face come from avoidable mistakes in recording or setup.
Accuracy is generally high on clear audio, but it drops when conditions are noisy or inconsistent. That’s why small improvements upstream can make a big difference downstream.
Here are common pitfalls to avoid:
- Recording in noisy environments without noise control
- Multiple speakers talking over each other
- Poor microphone placement or inconsistent volume
- Skipping the editing pass after transcription
- Using the wrong export format for your goal
Improving results does not require expensive equipment. Simple changes like using a directional microphone, recording in a quiet room, and speaking clearly can significantly boost accuracy.
It’s also important to set realistic expectations. No transcription system guarantees perfect accuracy across all languages and conditions. Most tools perform best on clear, single-language audio with minimal overlap.
How Wisprs fits into a creator transcription workflow
Once you understand the workflow, the next step is choosing a tool that supports it end to end. Wisprs is designed to map directly onto the steps creators follow, without forcing extra complexity.
It supports file uploads for both audio and video formats commonly used by creators. On the free tier, transcription runs on self-hosted Whisper-based models with options for speed or quality. Paid plans use ElevenLabs Scribe, which includes native speaker identification and improved handling for longer or more complex files.
For creators working at scale, features like batch uploads and parallel processing help manage multiple files efficiently. Language auto-detection and translation support make it easier to adapt content for different audiences.
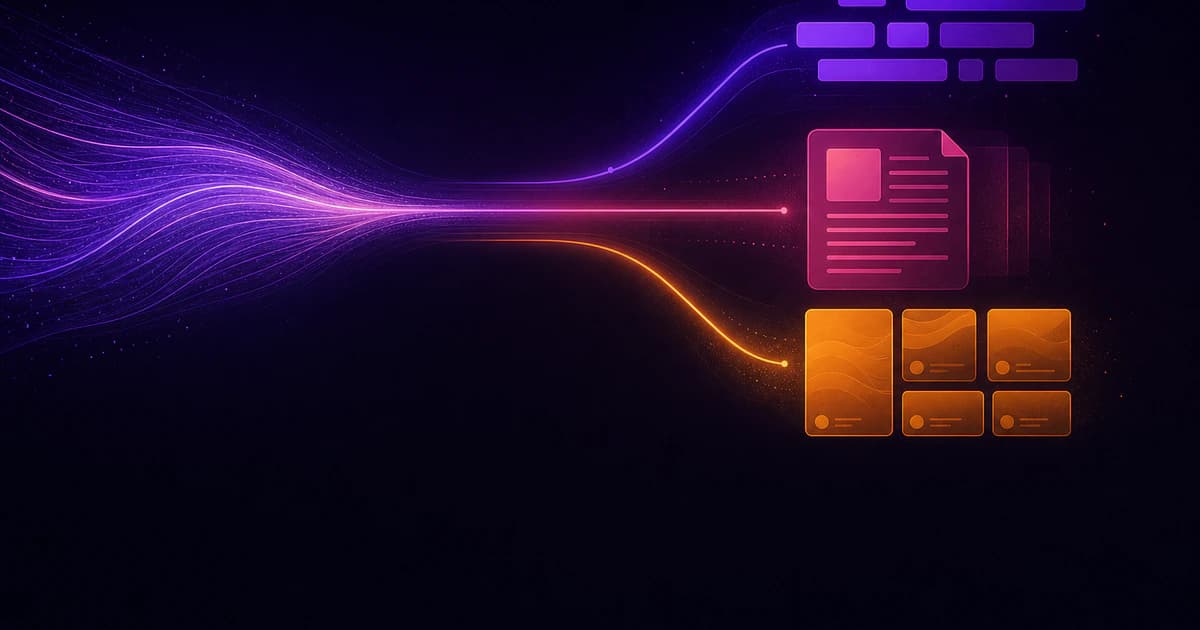
Exports are flexible
Exports are flexible depending on your plan. Free users can export TXT and SRT files, while paid plans create VTT, DOCX, and JSON formats. Word-level timestamps on higher tiers enable precise subtitle alignment and advanced editing workflows.
Editing happens directly in the dashboard, where you can adjust text, fix speaker labels, and re-export files without starting over. Additional features like AI-generated summaries and chapters can help turn transcripts into structured content faster.
If you want a broader overview of transcription tools and how they compare, start with the product page.
FAQ: content creator transcription
Q: How accurate is transcription for creators?
Accuracy is generally strong on clear audio with minimal background noise. However, it varies based on recording quality, speaker overlap, and language complexity. Most creators should expect to do a light editing pass.
Q: What format should I use for subtitles?
SRT is the most widely supported subtitle format for platforms like YouTube. VTT is also common for web-based players. Both include timestamps and text blocks for synchronization.
Q: Can I transcribe video directly?
Yes, most tools accept video files like MP4 and extract the audio automatically. This simplifies the workflow and avoids separate conversion steps.
Q: Do I need speaker labels?
Speaker labels are useful for interviews, podcasts, and multi-person content. They are typically available on paid plans with diarization support.
Q: Is free transcription good enough?
Free tiers can work well for simple use cases, especially with clear audio. However, they may include limitations like fewer export formats, slower processing, or watermarked outputs.
Next steps: build your workflow and try it
The fastest way to improve your content workflow is to implement transcription as a repeatable system. Start with one piece of content, follow the steps outlined above, and refine your process as you go.
If you want to see how this works in practice, explore how Wisprs supports creator workflows and export formats. Then test it with a real file to understand how the outputs fit your process.
- Learn more about features and workflows: /ai-transcription-software
- Review plans and export capabilities: /pricing
Or skip straight to trying it yourself:
